Around this time of the year as the temperatures start to drop and the sweaters come out. It’s crucial to have an easy homemade chicken stock recipe on hand for the incoming seasons. Homemade chicken stock is versatile for fall and winter, you can use it for soups, stews, and casseroles. In addition, it’s a great way to spruce up other recipes that call for chicken stock. Also, the flavor of your homemade chicken stock in contrast to store bought will be massively different. In short, the nutritional qualities of your own homemade stock make it incomparable to that of the stores.
Making homemade chicken stock used to be so daunting to me. This was way before I got deep into cooking and traditional preparation techniques a couple years back. If it seems scary or hard to cook homemade and from scratch, know you are not alone. But I promise, with some prioritizing and preparation homemade chicken stock will be a staple in your household.
What do I Need to Make Homemade Chicken Stock?
- Stainless steel pot, cast iron Dutch oven, or an enameled cast iron Dutch oven (make sure there is a lid)
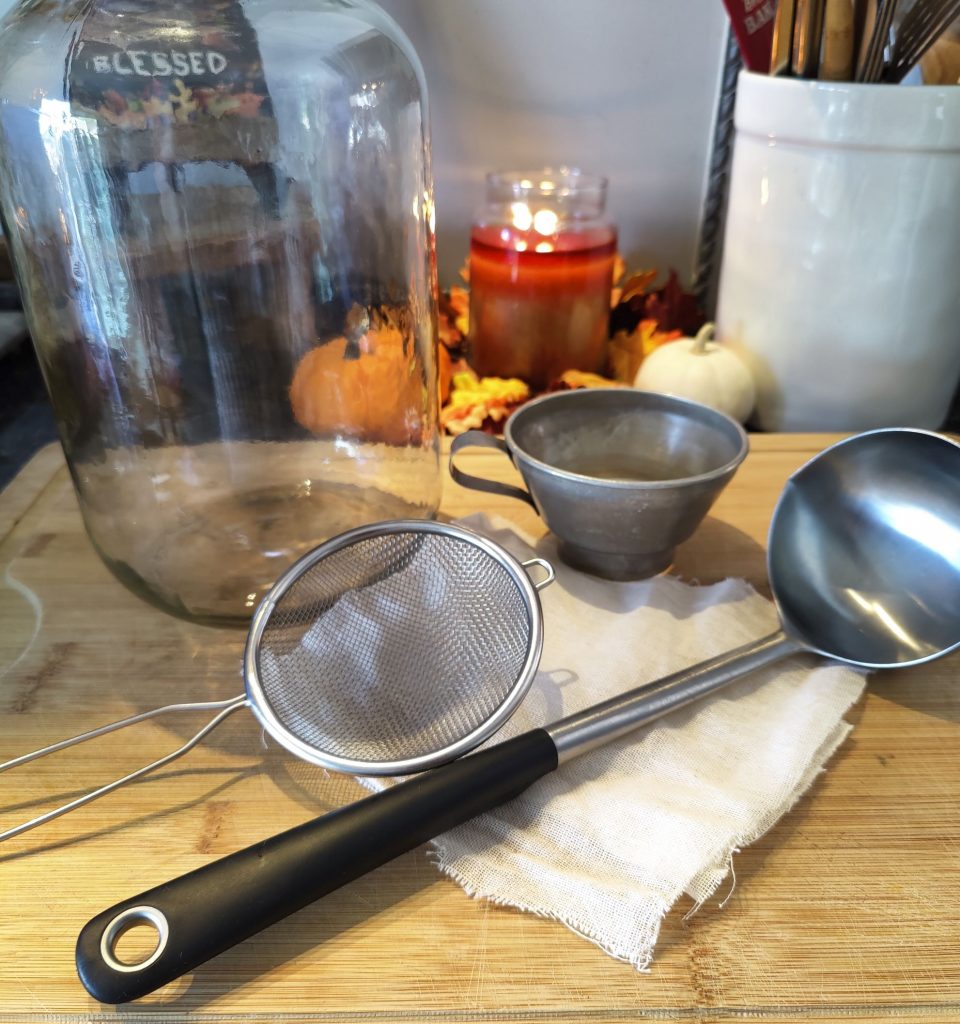
- Ladle, preferably stainless steel
- Stainless steel fine mesh strainer
- Cheesecloth (for straining)
- Funnel
- Glass jar (I use an old giant pickle jar. Mason jars work wonders too)
A lot of the things you need to make homemade chicken stock, you already have lying around the kitchen. Which can help make the whole process even easier. I personally recommend using stainless steel or cast iron. In short, non-stick and aluminum pots and pans can contaminate your food when they are heated up. I’m constantly trying to avoid toxins when it comes to cooking since I am on the GAPS diet.
I personally prefer to use stainless steel or wooden utensils. Plastic can release BPAs if it comes into contact with any sort of hot surface or hot liquids. That’s also why I only wash my plastic appliances in mildly warm colder water. As mentioned above, I recommend to use glass mason jars or giant pickle jars to store stock. Then you don’t have to worry about your hot stock coming in contact with any sort of chemical or toxins.
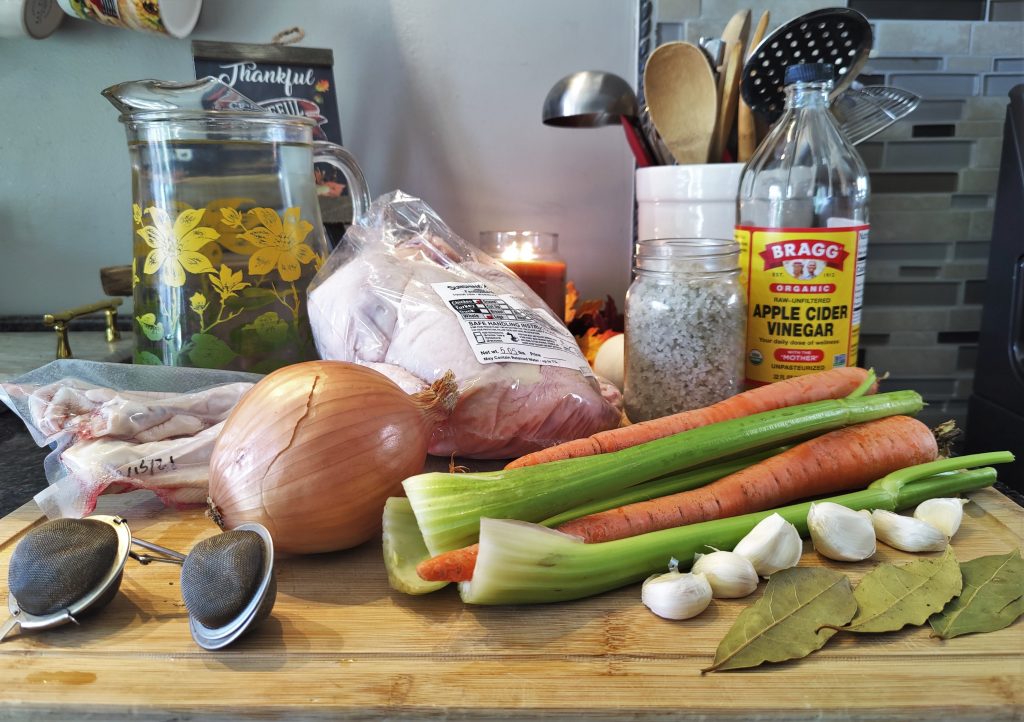
What are the Ingredients?
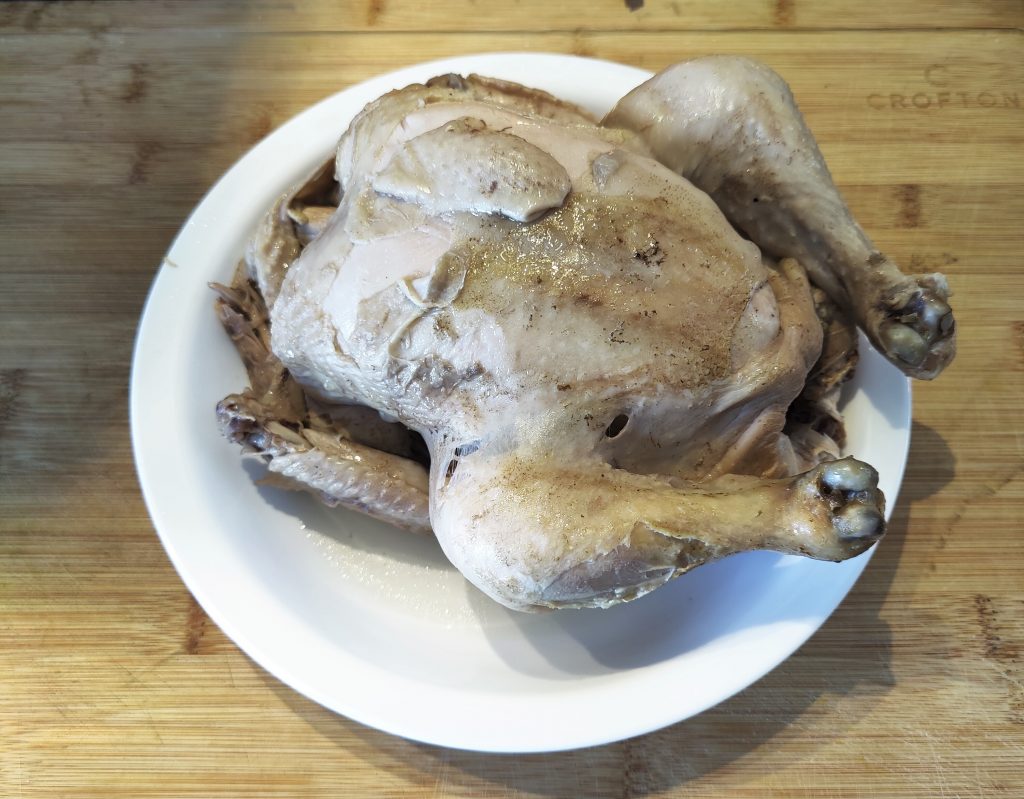
- 1 whole chicken
- I buy most of my whole chickens from a farm co-op or whole foods organic.
- 4-5 chicken feet (optional, they add a lot of nutrients and helps the stock to be more gelatinous. I would highly recommend finding a local farm or local farm co-op. That’s where I buy my chicken feet from. A lot of farms and co-ops sell chicken feet and organ meats. The feet are a game changer for the taste and nutrients of the homemade meat stock. I always add 5 sometimes 6 to really get a good gel on my stock.)
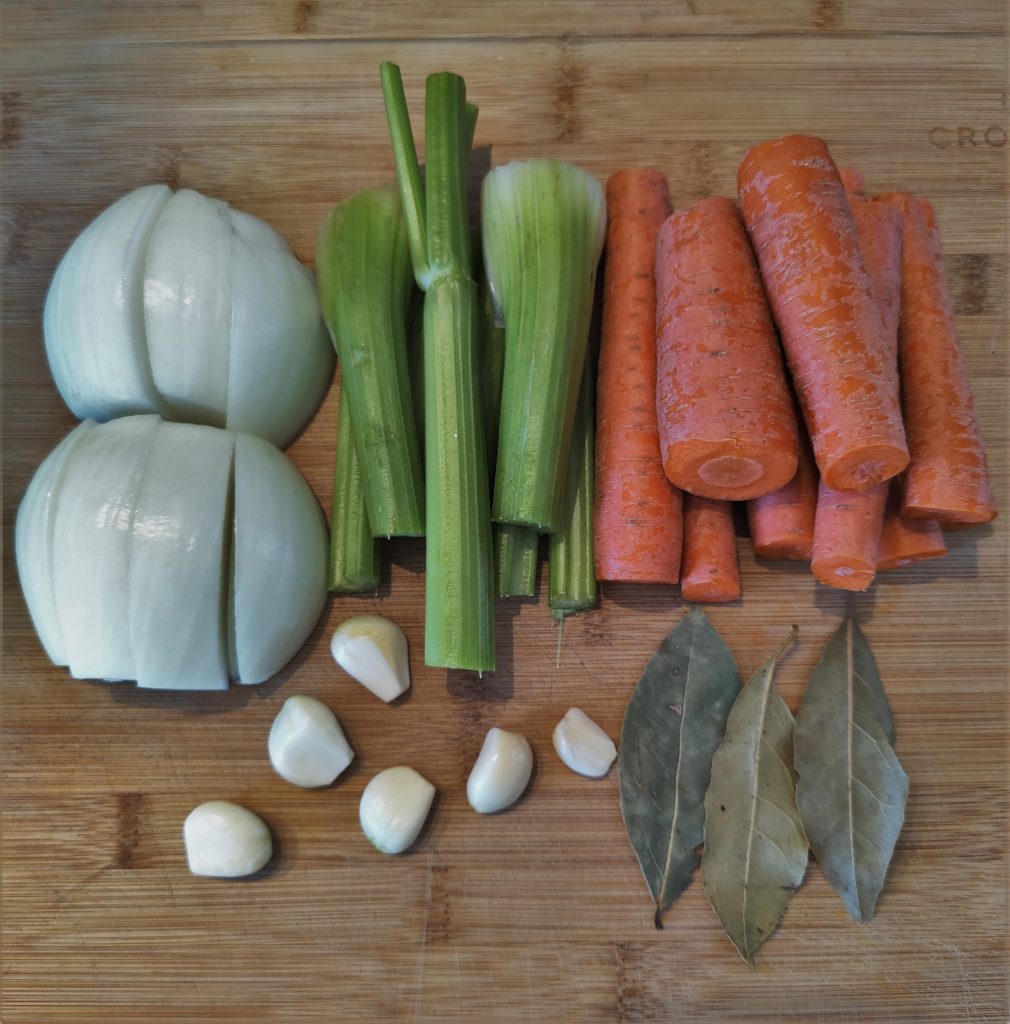
- 3-4 carrots (skin on for added nutritional benefits)
- 3-4 sticks of celery
- 1 onion
- 5-6 cloves of garlic
- 1-2 tsp raw apple cider vinegar with the mother
- Peppercorns (for easy cleanup and straining, you can use stainless steel mesh tea balls)
- 1-3 bay leaves
- 1-3 tsp mineral sea salt (I love and have been using the Celtic Sea Salt brand)
- Filtered Water
What are the Steps to Make Homemade Chicken Stock From Scratch?
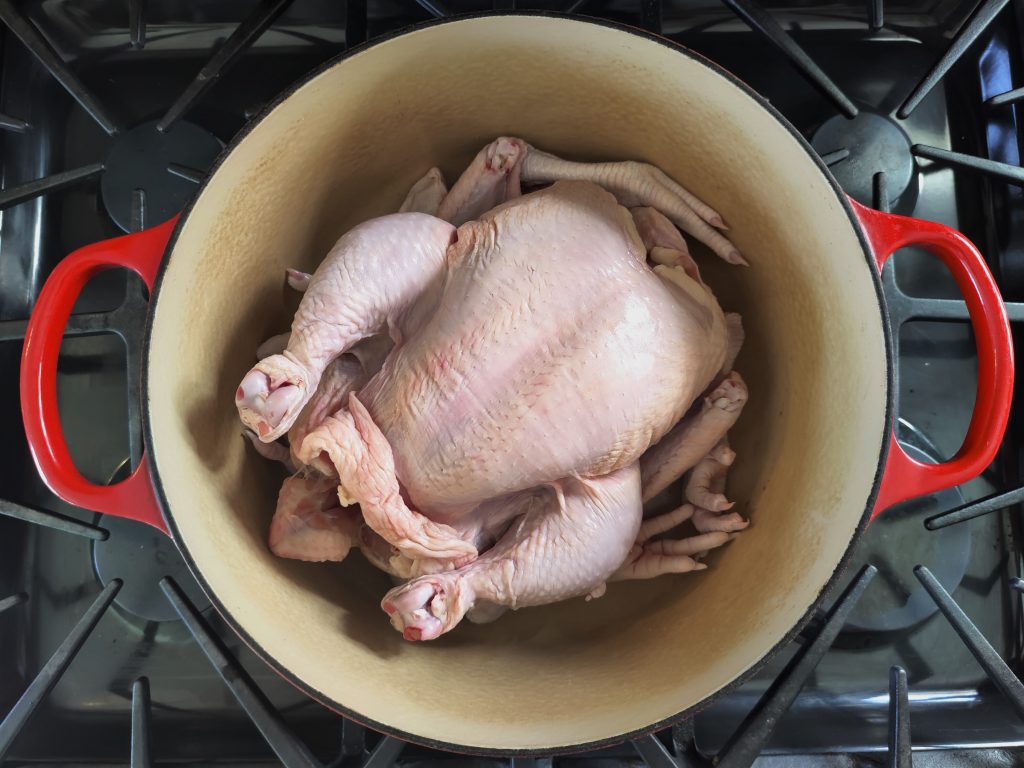
First: Add the whole chicken and chicken feet to the pot.
Second: Add in your mineral salt to taste along with your peppercorns.
- As mentioned above, using stainless steel mesh tea balls make the straining process/cleanup easier and faster for you. I normally fill up two of the mesh tea balls when making homemade chicken stock.
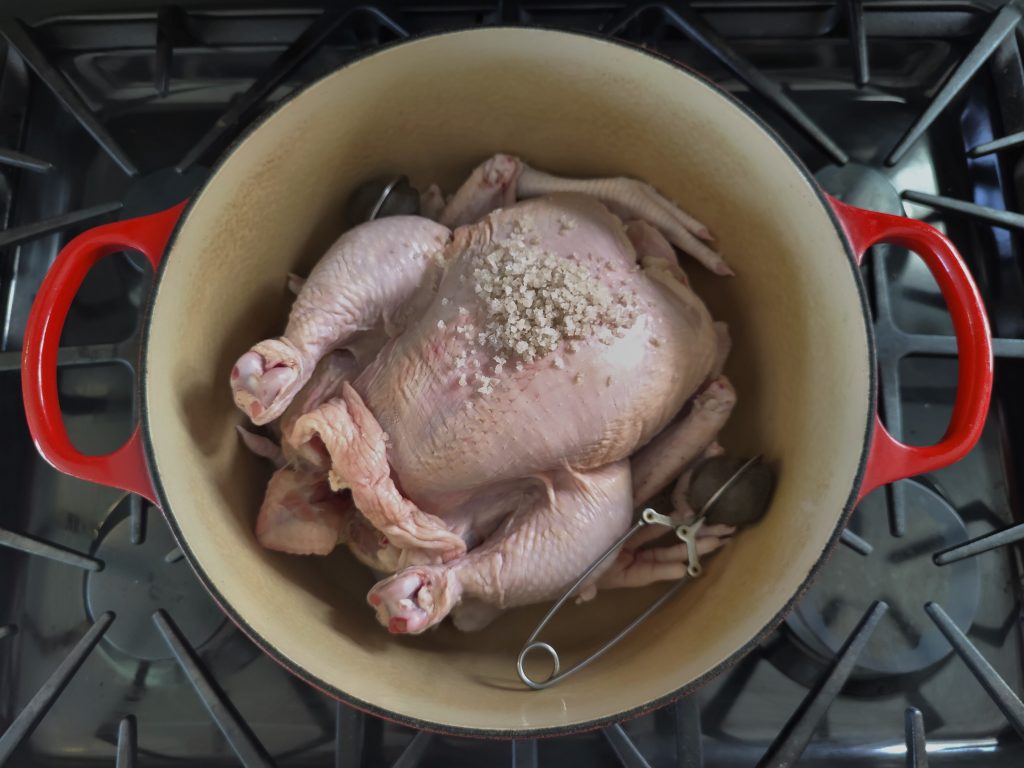
Third: Add raw apple cider vinegar(ACV) to the pot with the chicken. As a result, the ACV will start to extract more nutrients as you move on to the next steps!
- You also have the option to leave the ACV in the pot with the chicken for around 20-30 minutes. However, it’s not exactly 100% necessary to wait that long, but it will extract more nutrients out of the bones, marrow, skin, and joints. Doing this is a very traditional way of making homemade chicken stock. Either way, adding it into your stock greatly improves the nutritional qualities!
Fourth: Wash and cut the vegetables. After this add them to the pot along with the bay leaves.
- Remember to leave the skins on the carrots for added nutrients to your stock.
- You can cut all the vegetables into bigger chunks since you will be discarding them after.
Fifth: Cover the ingredients with filtered water, I use my Berkey water filter system. After there is enough water in the pot, set the burner on high and cover with the lid. I end up setting a timer for about 20-25 minutes to let the stock come to a raging boil.
- I usually try to not over do the water in my homemade chicken stock since I enjoy it when it’s more gelatinous since I’m trying to heal my gut lining through the GAPS diet. Getting about one or two inches above your chicken will work good.
- While the stock is coming to a boil you can do anything you’d like. That being the case, it’s a perfect time to get anything extra you need done around the house. I usually cleanup from the stock prep, work on the blog, or wait around until the time is up.

Sixth: Once it comes to a raging boil, use a ladle to scoop off the scum that rose to the top of the pot. After that, you can set the burner to low and cover with a lid. Let simmer for 1 hour 30 minutes – 2 hours.
- The scum that rises to the top of your stock is completely normal. It’s the bones cleaning themselves as the stock comes to a boil. However, some people say that taking the scum off of the top significantly helps the flavor of your homemade chicken stock taste better.

Seventh: When the timer goes off, turn the burner off and take the whole chicken out to cool off. After that take the vegetables, chicken feet, and peppercorns out of the pot as well. You can discard those or save them for a casserole if that’s what you plan to make!
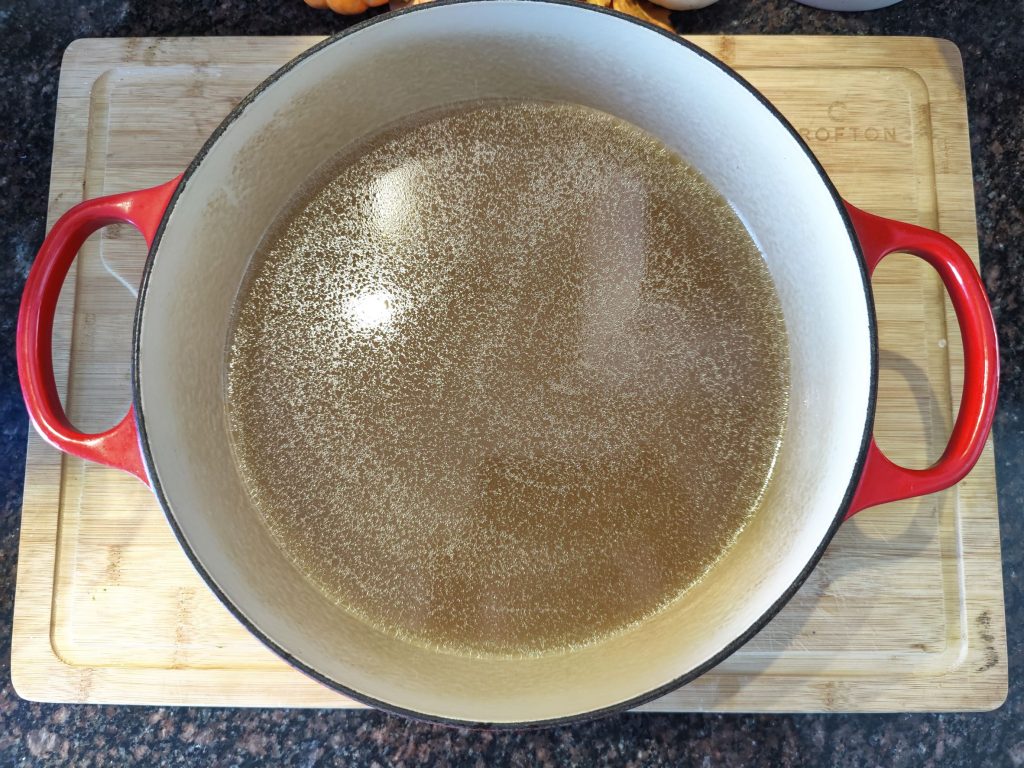
Eighth: Strain your stock while its hot if you have a trusted glass jar. Or you can let it cool off for a bit before you decide to strain. Next you will get your tools for straining. A jar, ladle, cheesecloth, funnel, and stainless steel fine mesh strainer. Strain the homemade chicken stock.
- Set up your jar with the funnel on top along with the fine mesh strainer. I like to use a funnel and the fine mesh strainer because it helps ensure I don’t spill as much.
- Next cut a piece of cheesecloth to put on top of the fine mesh strainer
- Afterwards begin to strain the homemade chicken stock from the pot. Sometimes you may need to get an extra piece of cheese cloth if the first one gets clogged from the chicken fat.
How Long Does Homemade Chicken Stock Last?
- Keep your homemade chicken stock from scratch in the refrigerator around 5-7 days.
- In addition, you can also freeze the stock if you know you won’t be using it all in that time frame.
- Similarly, freezing inside a mason jar only fill up to the shoulder so your stock has more room to expand and your glass won’t break on you.
- Frozen stock can be kept for up to a year. I always check for freezer burn and smell it if its been around a year of having it frozen.
Is This Homemade Chicken Stock Recipe GAPS Approved?
- This homemade chicken stock from scratch recipe is GAPS approved since it follows all the GAPS guidelines and protocols. In fact, have been doing the diet for over half of a year now, this has been my go to recipe.
- A a matter of fact, you can enjoy this homemade chicken stock as a drink on GAPS or make it into a beautiful soup or stew.
- Homemade chicken stock from scratch that can be drank and eaten on GAPS is stocked full with all the beneficial nutrients you need to heal and seal the gut lining.
- So I personally have been drinking three or more cups of meat stock everyday now for over half of a year. It’s amazing how much it can help the gut restore itself and starve off those pesky pathogenic bacteria that override our microbiome in the beginning stages of GAPS.
Homemade Chicken Stock From Scratch

Make this homemade chicken stock from scratch recipe a staple in your household this year. It's a great way to support a healthy immune system, to help your common cold or flu symptoms, and make your next dishes taste delectable! Time to enjoy more hearty, warming, and nourishing recipes this season.
Ingredients
- Whole chicken (preferably thawed, I thaw mine the night before in the fridge)
- 4-5 chicken feet (optional and also preferably thawed)
- 1-3 TSP mineral sea salt
- 1-3 TSP peppercorns
- 1-3 TSP raw apple cider vinegar with the mother
- 4-5 carrots
- 4-5 sticks of celery
- 1 onion
- 5-6 cloves of garlic
- 1-3 bay leaves
- Filtered water
Instructions
- Put the whole chicken and chicken feet into the stock pot.
- Add in the salt, peppercorns, and apple cider vinegar on top.
- Wash and cut the vegetables. You can cut them all into big chunks since they will be discarded after.
- Add the vegetables into the stock pot along with the bay leaves.
- Fill the stock pot up with filtered water. Only go one or two inches above the chicken. Set the burner for high and bring the water to a boil. (around 15-20 minutes)
- Once the stock is boiling, scrape off the scum that rose to the top of the pot. Then set the burner for low, cover with the lid, and allow to simmer for 1 hour 30 minutes - 2 hours.
- After the time is up, turn the burner off. Take the whole chicken out and set aside to cool(save for soups, stews, casseroles, or chicken salad). Along with that, take out the vegetables, chicken feet, and spices. You can discard those.
- Grab your glass jar and put the funnel on top, along with your fine mesh strainer and then the cheesecloth. Use a ladle and strain the pot of stock.
- Store in the refrigerator for up to 5-7 days. You can freeze in mason jars(only fill up to the shoulder).
Notes
- - You can use the stock for soups, stews, casseroles, and you can even drink a warm cup its delicious!
- - Add more or less mineral sea salt depending on what your palate prefers.
- - Add more or less peppercorns depending on what your palate prefers.
- - Homemade chicken stock is key to have on hand for anyone with cold or flu symptoms. It can nourish the body, give you the minerals and electrolytes you need, and keep you warm!
- -This recipe can be allowed on GAPS as long as your follow with what stage you are on. Some can't tolerate the apple cider vinegar in early stages.
What Have you Tried?
Do you make homemade stock from scratch? Let me know down in the comments below what other types of homemade stock you’ve given a try!
Pin it for Later

Join Me!
Come with me on this adventure of cultivating lifelong skills, learning to use more traditional cooking techniques, and nourishing our bodies from within! Subscribe below for newsletters!
Everything is very open with a precise clarification of the challenges. It was really informative. Your website is useful. Thanks for sharing!
Thank you for your feedback! I’m happy you have found my page useful 🙂
It’s actually a great and useful piece of info. I am satisfied that you shared this helpful info with us. Please keep us up to date like this. Thank you for sharing.
Thank you so much, more is coming soon!
Absolutely indited subject matter, regards for selective information. “Necessity is the mother of taking chances.” by Mark Twain.
I like this post, enjoyed this one thank you for posting. “He removes the greatest ornament of friendship, who takes away from it respect.” by Cicero.
I love your writing style genuinely enjoying this internet site.
Thank you!
It is the best time to make some plans for the future and it’s time to be happy. I’ve read this post and if I could I desire to suggest you some interesting things or tips. Maybe you could write next articles referring to this article. I wish to read more things about it!
I enjoy what you guys are up too. This sort of clever work and exposure! Keep up the wonderful works guys I’ve incorporated you guys to my own blogroll.
Thanks!